Using gels to create a compelling portrait in a small studio
This article will go over the process that we used to achieve this cleanly lit portrait using fairly conventional lighting, gels, and a lens filter. My goal as a Harrisburg portrait photographer is to create dynamic and compelling portraits that inspire people using the small space that I currently have available. I’m going to be documenting our learning experiences through these articles, as an anchor point to come back to later in tracking progression, but also to hopefully give other new photographers like myself some tools and ideas to play with.
gear we used:
Tripod – Any tripod will work
Lens: 24/70mm shot at 2.8
Keylight: Godox AD400pro with Angler quick-open beauty dish 24″ (white)
Fill light: Godox AD300pro with 2×2″ softbox
Gelled Lights: Godox Ad-600pro with Barndoor Kit x2
Silver reflector
White backdrop
Space heater (very important)
Rosco Color Effects Kit
Setting up the shot
The initial plan was to go for a long exposure style shot with some movement and ghosting but we ended up ditching the idea upon the realization that the AD600 modeling lights weren’t powerful enough to create anything bright enough to work with. Humbled with the fact that our brilliant plan was foiled so quickly, we decided to start with something basic and build up a shot around it using what we had to work with.
Eliminating ambient light
In a studio setting we want to have complete control over our lighting by making sure that the only light in the shot is light that we introduce. We can eliminate ambient light in two ways. The first is to turn off all of the lights which isn’t ideal because we cant see in the dark.
The second way to eliminate ambient light from the shot, is to create an under exposed image. We start by setting our camera at the lowest ISO which is generally 50, or 100 for modern cameras. We then choose our shutter speed which, in the absence of constant light, will freeze motion at a pretty low rate. I usually use the max shutter speed that will sync with my flash which is 250/s or 400/s, depending on which camera i’m using. Lastly, we adjust my F/stop down so that when the picture is taken, our frame is totally black. The rule is generally two stops underexposed. For example, if you can still make out details at f/5.6, you’d want to stop down to f/7.1. Now that we’ve achieved our black frame, it’s time to add some of our own light.
Key light and fill light
The first light that we add is our key light. This is the main light source, which all of the other lighting will be built around. I used a 24″ white beauty dish from Angler. The rule with beauty dishes is to distance them about an arms length away from the subject. In this instance, it’s centered just out of frame. We dialed in the key light and added a fill light to cut down on some of the shadows. The fill light is positioned at Courtney’s feet, and is pointed up towards her chest. This creates more even lighting across the entirety of the her body. You can also see that our fill light is underexposed, which we fixed in the image below. This is a decent shot to start with, and if Courtney were to do some posing, we could make some cool images out of what we have now, but this was pretty easy to set up, and its boring. The question is then, how do we make something like this more interesting?
I decided to add purple hair light. It was a stupid idea, so we moved on.
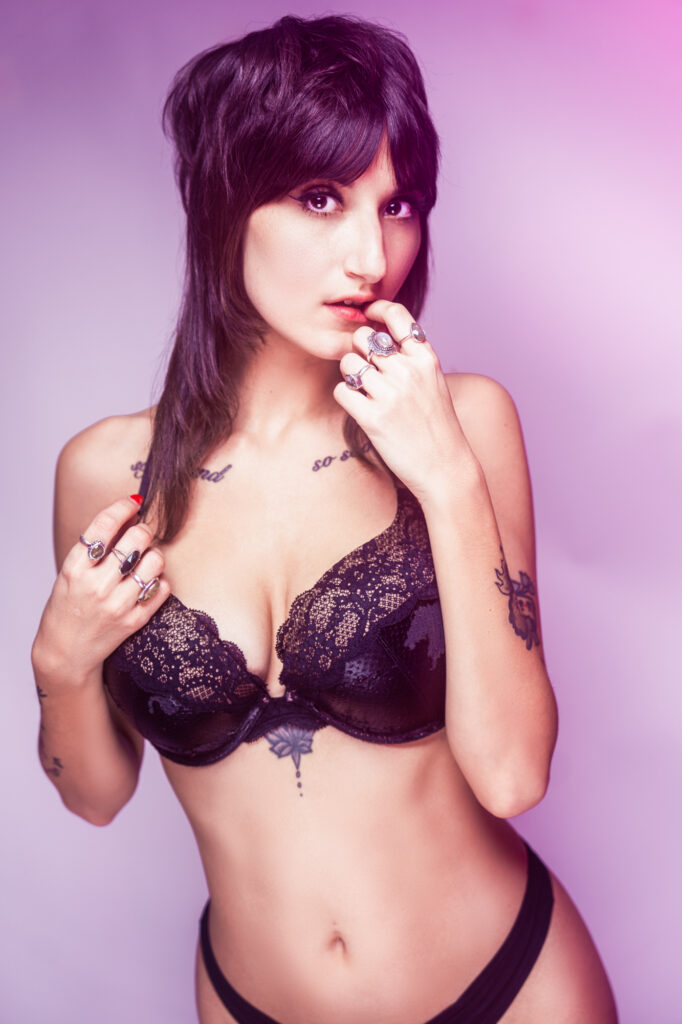
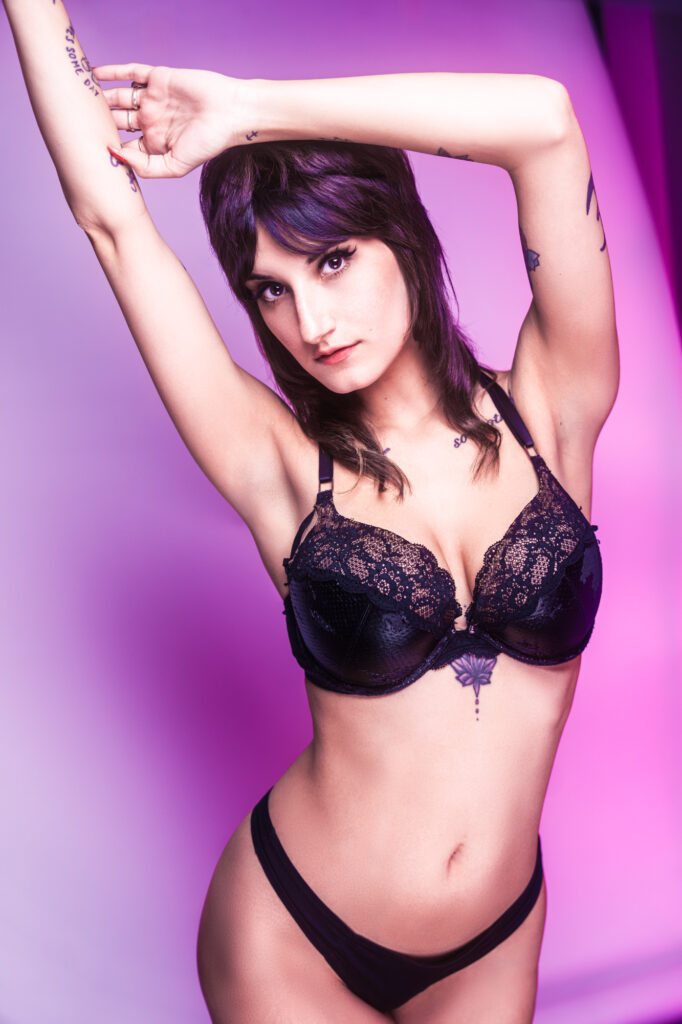
Creating dynamic portraits using gels
After scrapping the hair light idea, we pointed it directly into the lens of the camera lens. We added a yellow gelled light on the opposite side of her and pointed it into the lens. The two gelled lights by themselves don’t make much of a difference in the shot outside of filling in some of the shadows as the colored light bounces around off of my white walls, which is nice, but isn’t the main reason for their use. The real magic occurs with the use of a diffusion filter to create a lens flair.
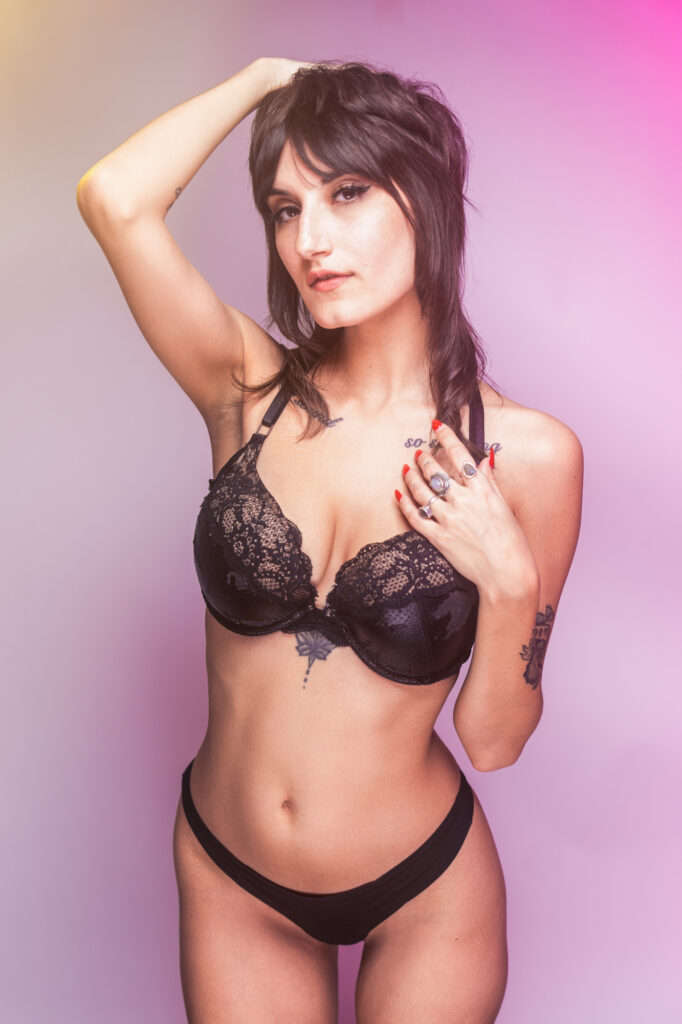
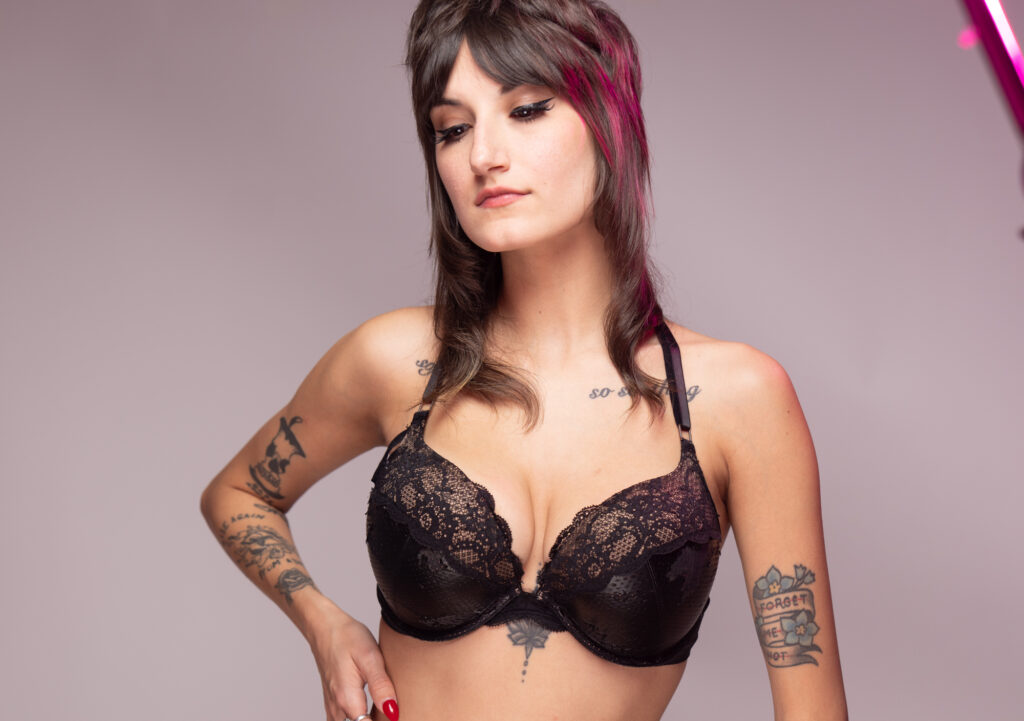
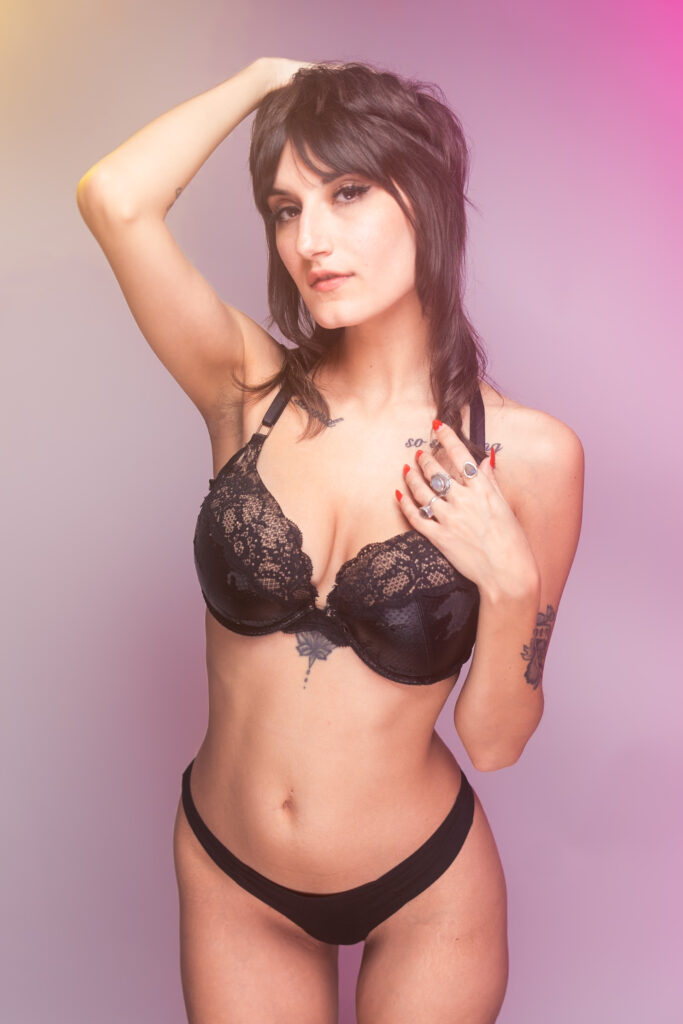
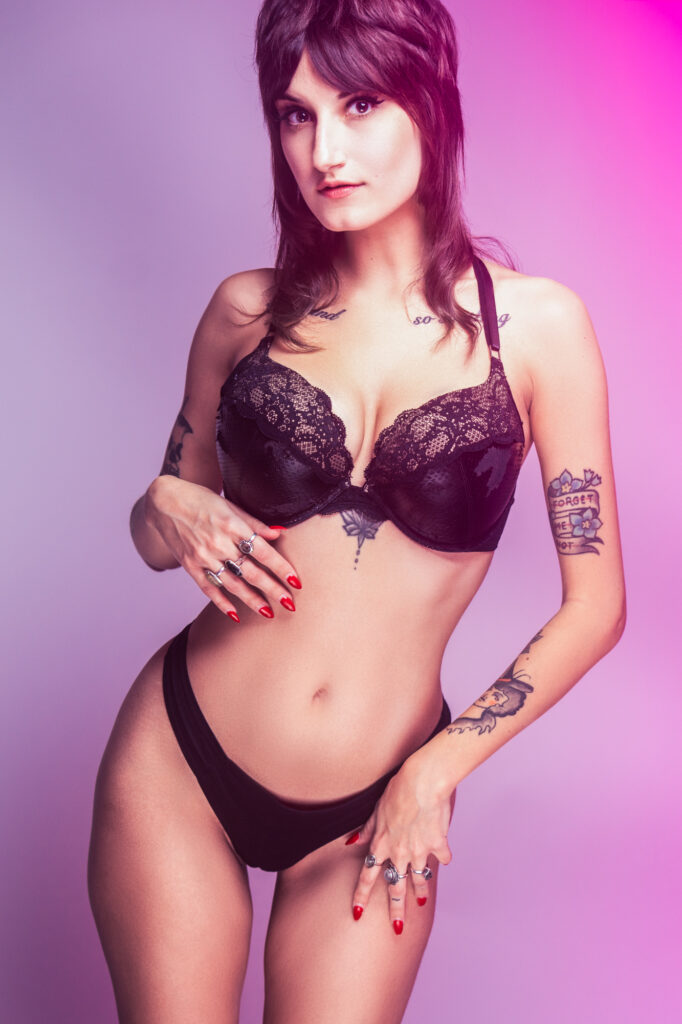
Diffusion filters create a soft glow about the entire image, especially around highlights. The ‘glow’ effect is created by introducing microscopic edges carved into the glass, causing light to scatter as it enters the lens. This process gives rise to a gentle radiance around the lights in the images while maintaining details effectively. With the addition of the filter, we now have a beautiful colored haze that really softens the image, and creates an interesting look. We finished it all off by placing large silver reflector behind the camera so that the two gelled lights bounce off of it, and back on to Courtney. This adds color to the shadows, and the background. Here are a few of the finished shots:
Thank you for taking a look at this portrait photo session featuring Courtney at my cozy studio in the Harrisburg area. 🙂
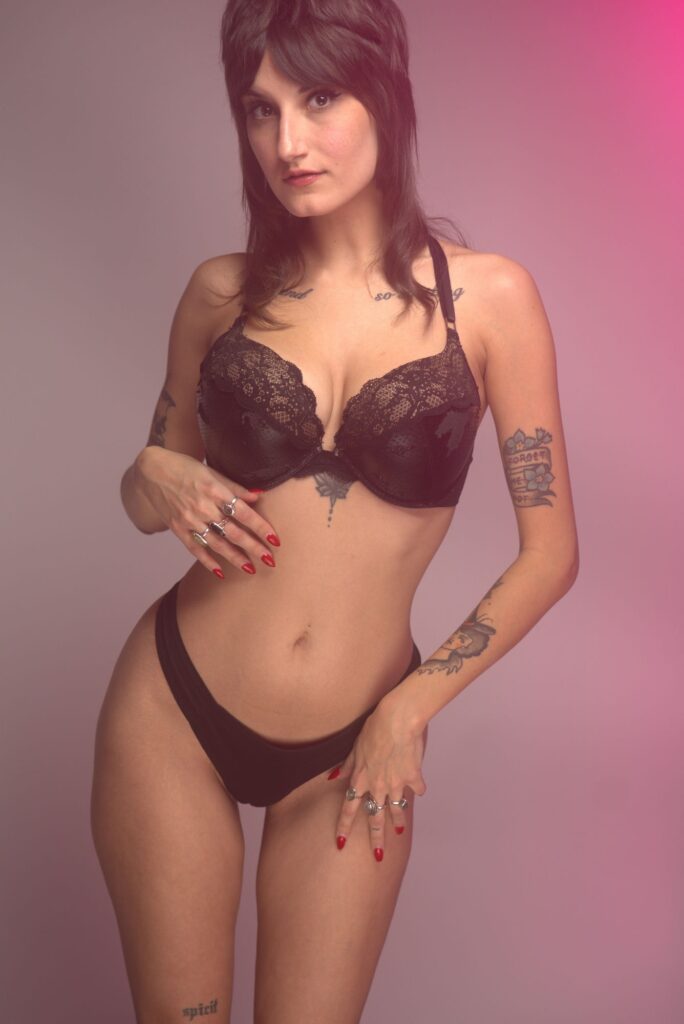
If you’re curious as to what things looked like before running them through lightroom for their basic adjustments, and then photoshop for some simple retouching, here are the raw and edited photos below.